How to edit iPhone videos
The exceptional capabilities of smartphone cameras enable users to capture video footage without needing a professional device. Combined with sophisticated editing software, iPhones are capable of turning daily life into a detailed video shoot.
Between adding filters and music, learn how to edit iPhone videos from the ground up and transform your creations into polished, professional-grade content.
If you’re looking to pick up a new iPhone, browse our range of contract and refurbished handsets.
How to open the edit feature
Taking time to trim your footage and increase the brightness are quick-but-effective ways to improve the quality of your videos, but it’s important to learn the lay of the land first before diving in.
Go to the Photos app and open the video you want to edit. Of the three centre symbols at the bottom of the screen, tap the symbol to the right that shows three horizontal lines; now you’re in the Edit feature, where you can crop videos, add filters and make other adjustments.
How to trim your video
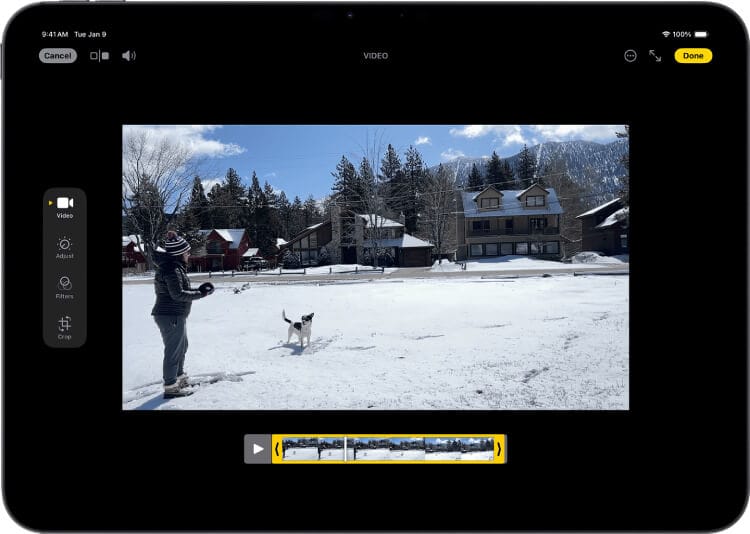
One of the easiest and most impactful edits you can make to a video is trimming it, eliminating unnecessary footage at the start or end of the recording:
- While in the Edit feature, you’ll notice a timeline at the bottom of the screen that shows each frame of your video from start to finish
- Tap the arrow at the start or end of the timeline (depending which section you need to trim) and slide it inward until you reach the section you want the video to start at
- Tap ‘Done’ in the top right corner and save your video with the new edits
How to crop your video
If you need your video to focus on a smaller section of the recording, or you want to remove an unwanted object from the frame, you can use the Crop feature to do so. Cropping iPhone videos is simple and can be tailored to isolate as much, or as little, of the frame as desired:
- In the Edit feature, select ‘Crop’ on the bottom right-hand side of the screen
- Drag the corners of the video inwards until you’ve cropped what you need
- Tap ‘Done’ in the top-right corner and save your video with the new edits

How to create slo-mo videos
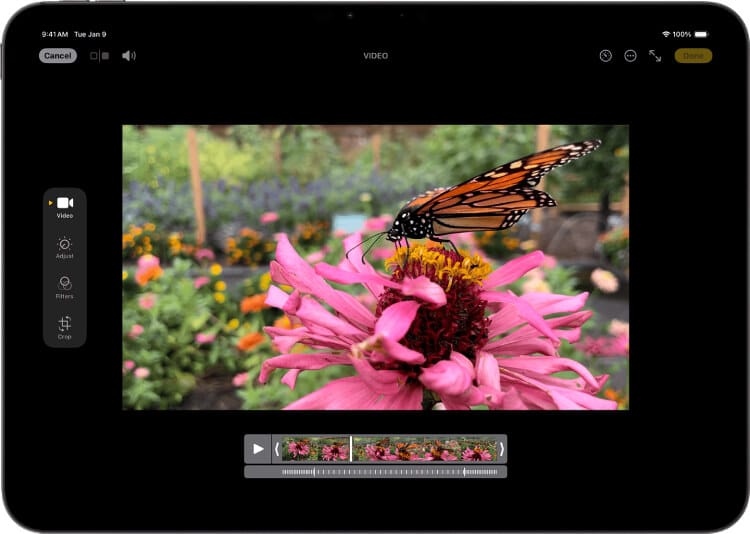
In iOS 18 you can adjust the video playback speed of footage, creating a dramatic, slo-mo effect. While in the Edit feature, tap the ‘Speed Control’ icon and choose the playback speed you want.
You can also choose which section of the footage you want to slow down or speed up. Use the vertical white lines in Edit mode to set where you want the slo-mo to take place.
How to add filters and effects
The Photo app has two core methods for editing the appearance of your videos. For beginners or those with limited time, preset filters are a quick and easy way to elevate your footage by adding warmth, turning it black & white and more; just tap the ‘Filters’ icon at the bottom of the screen while in Edit mode and choose from the selection of filters.
More advanced effect tweaking is possible by tapping the ‘Adjust’ icon at the bottom of the screen. Here, you can make more specific adjustments such as increasing or decreasing the brightness, shadows, saturation or sharpness for a custom edit. Tap ‘Done’ to save your changes or if you’re not happy with the results, click ‘Revert to original’ to start from the beginning.

How to use Audio Mix
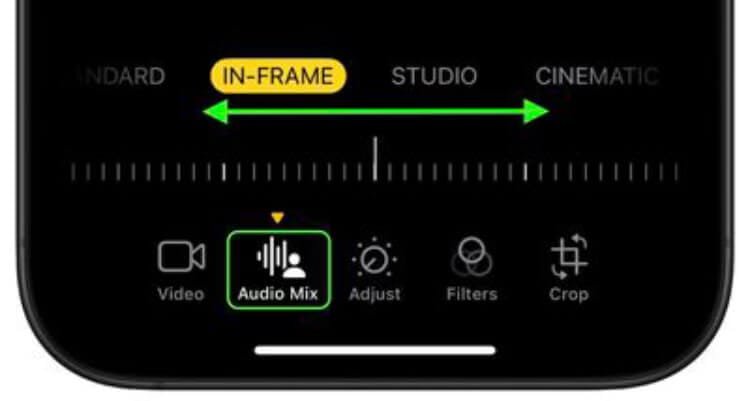
Announced alongside the iPhone 16, Audio Mix uses Apple Intelligence to reduce unwanted background noise. Whether it’s strong winds causing a distraction throughout the video, or an accidental conversation caught in the background, this feature can significantly improve audio clarity:
- In the Edit feature, tap ‘Audio Mix’ and choose from the four options
- Standard allows you to play the audio as it was originally recorded
- In-Frame reduces sounds from sources that aren’t visible in the video
- Studio creates the effect of being in a recording studio by reducing reverb
- Cinematic brings voices to the forefront of the video while leaving other sounds in the background
How to save and export
As demonstrated throughout this guide, we recommend saving the video each time you make a new edit. Selecting ‘Done’ will automatically save the video into your Photos app, and you can either overwrite the original video or create a copy and compare versions.
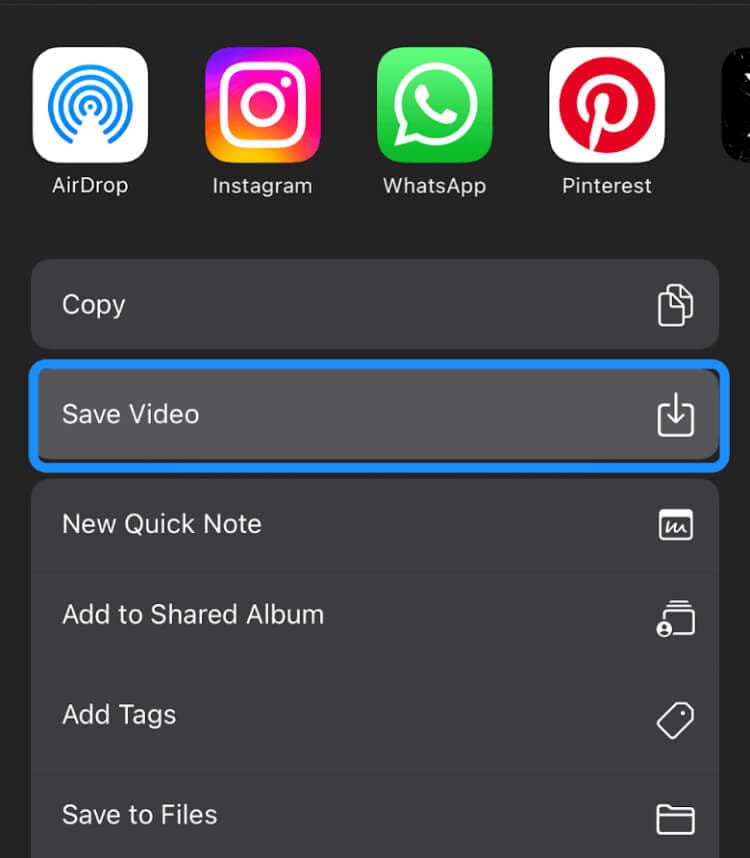
Exporting your video is possible via a few methods. While your video is open, tap the ‘Share’ button at the bottom of the screen to see all the export options. You can send your video via text, a messaging app or social media (these will appear depending on the apps downloaded to your phone). You can also Airdrop your video to available contacts.
Editing apps
Whilst iPhones come ready with an impressive array of editing features, there are a variety of third-party and first-party apps you can use, too.
CapCut is designed for curating stylized, trendy TikTok videos, whilst Adobe Premier Rush is a beginner-friendly editing software for polishing up your footage like a pro. There’s also iMovie from Apple, a first-party editing suite that bridges the gap between beginner-friendly and suitable for professionals.
The extensive editing capabilities of the iPhone make it an exceptional device for capturing and creating cinematic videos. For those dabbling in both videography and photography, our guide to editing iPhone photos will help you transform your creations with ease.